Fuselage
I was not familiar with this type of fuselage structure and building process. Every RC plane I've built so far has a simple box fuselage built with flat balsa sheet sides over formers, with more sheets covering the top and bottom. The Chicken Hawk was only a slight deviation from this method.
I typically start by building the wings, but this time I went for the fuselage first. It will help put the challenging piece behind me much sooner and perhaps also help with figuring out CG and balancing; something I can do with a complete fuselage and tail section in place. I'm not sure about that but it seems like a reasonable expectation.
Learning an important lesson from building the Chicken Hawk, I carefully read the building article and building log on RC Groups. My plan is to follow the more experienced builders' methods and adapts I progress.
This is the first side structure that was built on top of the plans. Wax paper separates the structure from the plan and clear plastic wraps (Saran Wrap) is laid on top before building the second side:
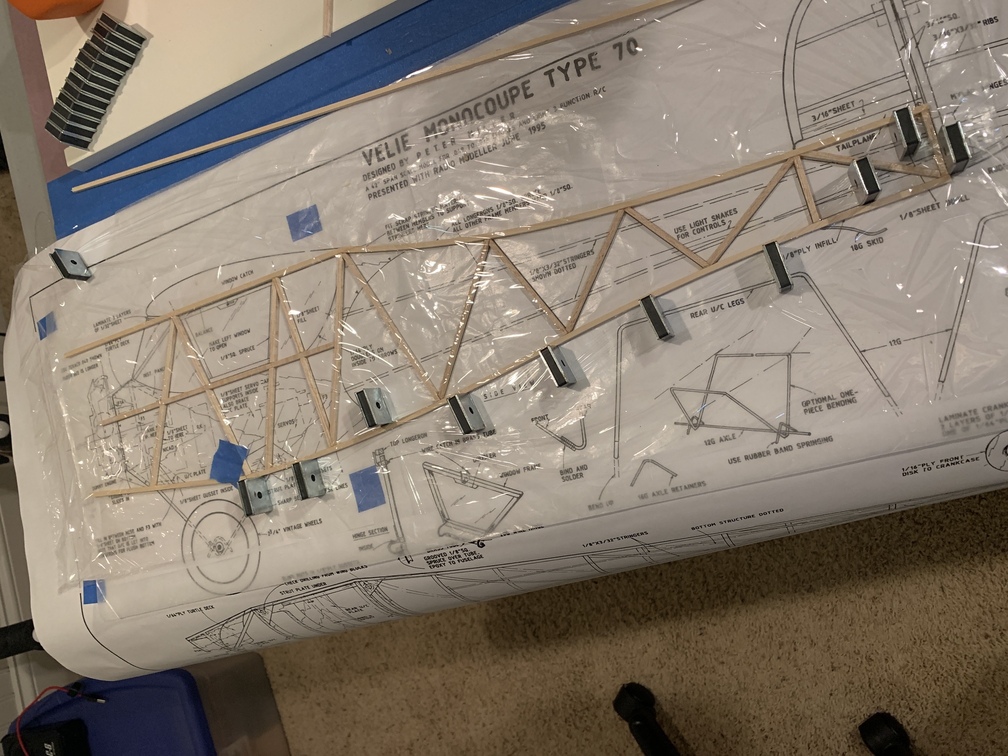
Here is the second side built on top of the first one. This method is used by many and resulted in identical side structures:

These are both sides with the doubles installed on the inside of the fuselage sections. I may cover the Monocoupe with tissue or silk-span, which will help show the intricate structures underneath:

If you look carefully you will notice that the nose section is extended by about 1/2". I expect that balancing the plane might be a bit of a challenge so the extra length will help. A 1/2" extension can always be reduced, while extending things after the fact would be challenging and possibly unattractive:


Comments
Post a Comment